
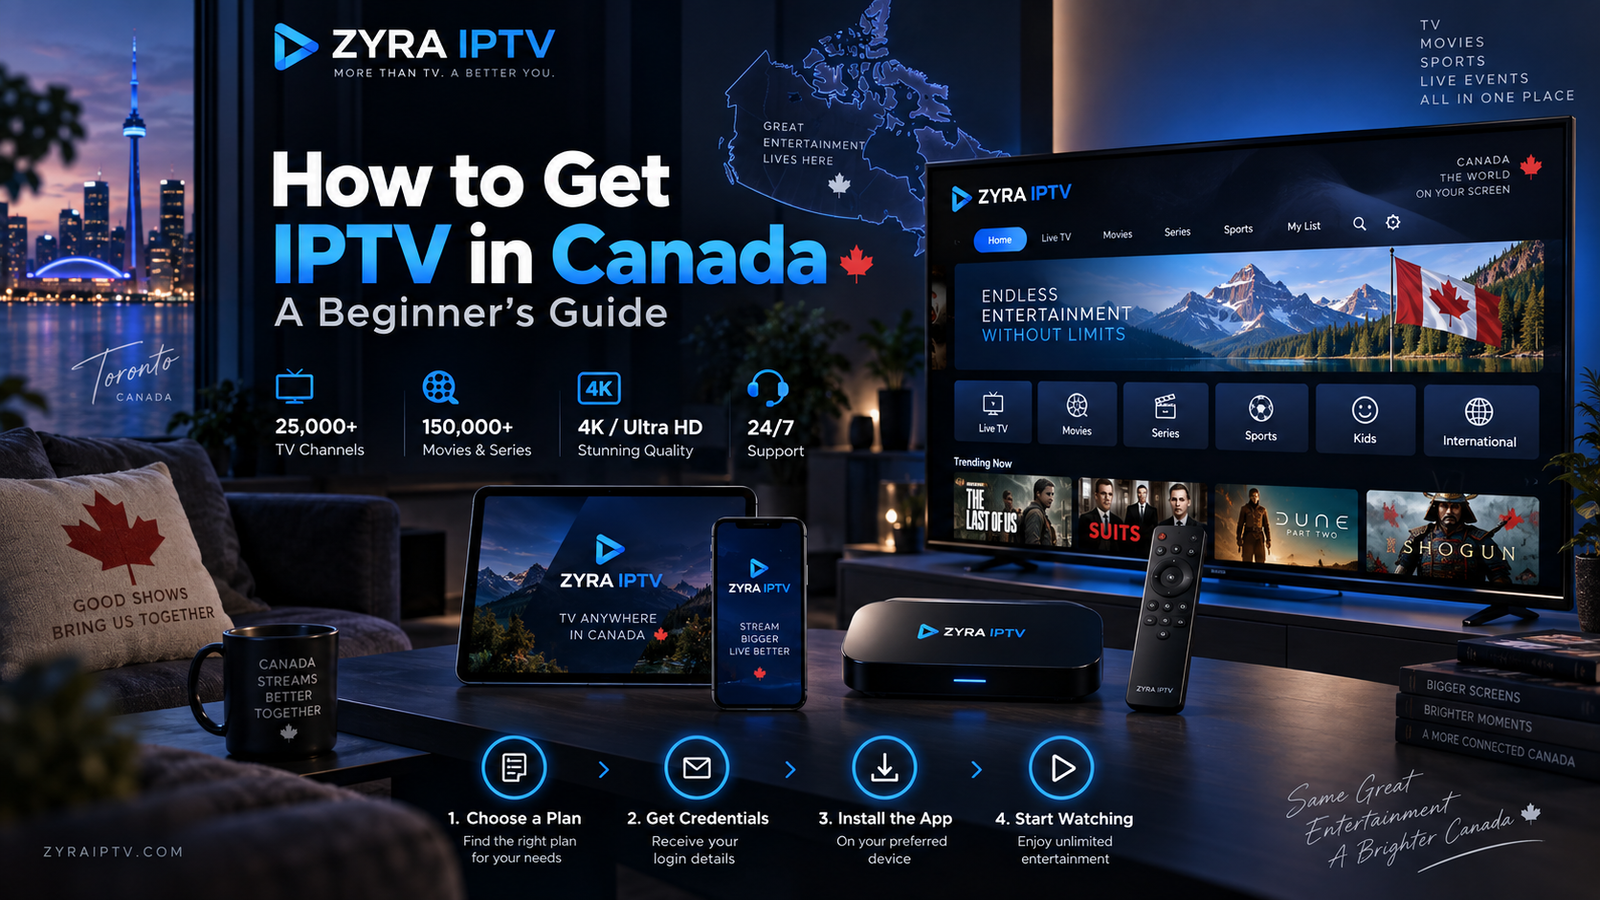
If you are wondering how to get IPTV in Canada, the basic process is simple. You need a suitable internet connection, a compatible device, an IPTV service, and an IPTV app or player. After choosing a provider, you normally receive the account or playlist information required to connect the service to your device.
The important part is choosing carefully. Canadian viewers should check regional channel availability, billing currency, device support, subscription conditions, customer support, and provider transparency before paying.
This beginner guide walks through the complete process from choosing a service to starting your first stream.
What Do You Need to Get IPTV in Canada?
Most IPTV setups require four main things:
| Requirement | Purpose |
|---|---|
| Internet connection | Delivers television streams to your device |
| Compatible device | Provides the screen or platform for viewing |
| IPTV subscription | Provides access to available television content |
| IPTV player or app | Loads and displays channels and other content |
Depending on the provider, you may also receive a username, password, server URL, M3U playlist, or another type of login information.
Do not purchase additional hardware until you know what your chosen service actually requires.
Step 1: Decide What You Want to Watch
Before looking for IPTV providers, identify your actual viewing needs.
Canadian households may be interested in:
- Canadian television channels
- local and regional programming
- English-language content
- French-language television
- live sports
- news
- international channels
- children’s programming
- movies
- TV series
- video-on-demand content
Your location can affect what you consider important. Someone in Quebec may place greater importance on French-language programming, while another household may focus on specific regional, national, or international channels.
Create a short must-have list before comparing providers.
You can use the IPTV channel information as an example of how to review available content before deciding whether a service fits your needs.
Step 2: Find an IPTV Provider
The next step in learning how to get IPTV in Canada is finding potential providers.
You may discover services through:
- search engines
- recommendations
- streaming communities
- technology forums
- IPTV comparison websites
- television service providers
- online reviews
Finding a provider is not the same as verifying one.
Do not immediately subscribe because a service appears first in search results or because someone recommends it in a forum. Instead, build a shortlist and investigate each option.
Check whether the provider clearly explains:
- subscription duration
- available content
- connection limits
- supported setup methods
- payment terms
- cancellation conditions
- refund policy
- customer support
- privacy information
A professional-looking website alone is not enough to judge a service.
Step 3: Check Canadian Channel Availability
A provider may advertise international IPTV access while offering different content for different markets.
If you live in Canada, verify the channels that matter to you specifically.
Consider:
- national Canadian channels
- regional programming
- French-language channels
- sports broadcasters
- news
- children’s channels
- international programming
Do not choose solely based on an advertised total channel count.
A provider with fewer relevant channels may be more useful to you than a service with a huge list containing content you never watch.
Also remember that channel availability can change, so check the provider’s current information before purchasing.
Step 4: Choose the Device You Will Use
Your IPTV setup depends heavily on the device.
Possible options may include:
- Smart TV
- Android TV
- iPhone
- iPad
- computer
- streaming device
- compatible set-top hardware
Before purchasing a subscription, confirm that the provider supports an appropriate setup for your specific device.
Do not assume that instructions for an Android TV device will work identically on a Smart TV or iPhone.
If you need to understand the installation process first, review the IPTV installation guides for device-specific setup information.
Step 5: Understand IPTV Players
An IPTV provider and an IPTV player are not necessarily the same thing.
The provider supplies access to the television service. The player is the software that loads and displays that service.
Depending on the setup, your provider may give you:
- username
- password
- server URL
- M3U playlist
- portal information
- another supported login format
Install only the app required for your device and provider.
Whenever possible, obtain applications from official app stores or the official developer rather than downloading modified software from unfamiliar websites.
The IPTV player may also have its own pricing, so check whether the application is free, requires a one-time purchase, or uses a separate subscription.
Step 6: Compare IPTV Subscription Terms
Before paying, read the subscription details carefully.
Important questions include:
- How long does the subscription last?
- What currency will I be charged?
- How many simultaneous streams are included?
- Does the subscription renew automatically?
- How does cancellation work?
- Is there a refund policy?
- Is customer support included?
- Are there additional app or hardware costs?
For Canadian users, pay particular attention to currency.
Do not assume that a dollar sign automatically means Canadian dollars. Confirm whether the checkout uses CAD, USD, or another currency and review the final amount before paying.
Step 7: Consider a Trial Before a Long Subscription
If a suitable trial is available, it can help you test the service before making a longer commitment.
During the trial, check:
- your most important Canadian channels
- regional content
- French or English programming as needed
- live sports
- picture quality
- EPG information
- channel switching
- movies and series
- your preferred device
- customer support
Test during the times when you normally watch television.
A short trial cannot guarantee future performance, but it can reveal obvious compatibility or usability problems.
Read the trial conditions first because a trial is not necessarily free.
Step 8: Install the IPTV App
Once you have chosen a provider and confirmed compatibility, install the required IPTV app on your device.
The exact process varies by platform.
For example, Smart TV users should follow instructions designed specifically for their television operating system. If that is your main viewing device, the Smart TV IPTV guide provides a useful starting point.
After installing the app, open it and locate the option for adding an account, playlist, or provider login.
Step 9: Enter Your IPTV Login Details
Enter the information provided by your IPTV service exactly as supplied.
This may include:
- account name
- username
- password
- server address
- playlist URL
Be careful when copying and pasting details.
An extra space, missing character, or incorrect server address can prevent the service from loading.
Do not post your subscription credentials publicly or share them with strangers. These details may provide access to your IPTV account.
Step 10: Load Channels and EPG Information
After your account is accepted, the player may begin loading:
- live TV categories
- channels
- movies
- TV series
- EPG information
The Electronic Programme Guide, commonly called EPG, displays programme schedules.
For Canadian viewers, check that programme times appear correctly for your location. Canada spans several time zones, so incorrect EPG or device time settings can make programme schedules appear at the wrong time.
If the guide seems incorrect, first check your device’s time zone before changing other settings.
Step 11: Test Your Internet Connection
IPTV depends on continuous network delivery.
Streaming performance can be affected by:
- internet connection quality
- Wi-Fi strength
- network congestion
- video resolution
- streaming device performance
- IPTV player
- other devices using your network
If IPTV performs poorly over Wi-Fi, try moving closer to the router or testing with Ethernet when practical.
Do not immediately assume that every buffering problem comes from the IPTV provider. Your local network, device, or internet connection can also affect playback.
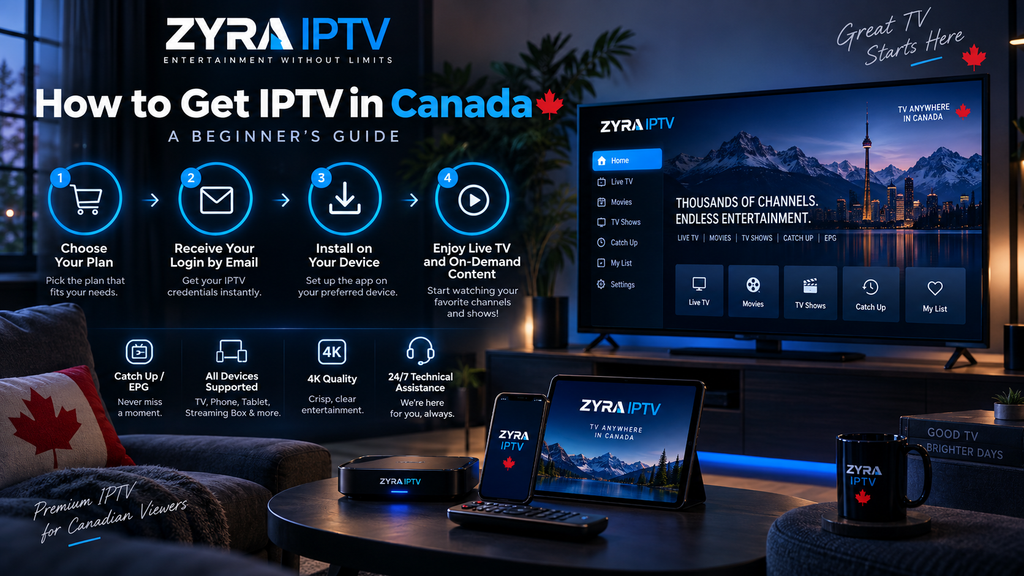
Do You Need a Special IPTV Box in Canada?
Not always.
If your existing Smart TV, Android TV device, computer, or another compatible platform supports the required IPTV app, additional hardware may not be necessary.
Before buying a box:
- Check your existing devices.
- Confirm the provider’s compatibility requirements.
- Identify the required IPTV player.
- Determine whether new hardware offers any real benefit.
Buying equipment before selecting your service can result in unnecessary costs.
How to Compare IPTV Providers in Canada
Use the same checklist for every provider you consider.
| Check | What to verify |
|---|---|
| Canadian content | Channels and programming relevant to you |
| Languages | English, French, and international options as needed |
| Device support | Your actual viewing device |
| Connections | Number of simultaneous streams |
| Streaming | Performance on your own internet connection |
| EPG | Programme guide availability and correct time zone |
| Subscription | Length, renewal, cancellation, and refund terms |
| Currency | Confirm whether pricing is in CAD |
| Security | Trusted apps and understandable payment process |
| Support | Clear way to request assistance |
Comparing providers consistently makes it easier to separate useful features from marketing claims.
Frequently Asked Questions
How do I get IPTV in Canada?
Choose a provider that serves your needs, confirm channel and device compatibility, select a subscription, install the required IPTV player, and enter the login information supplied by the provider.
Can I get IPTV on a Smart TV in Canada?
Potentially, depending on your television and chosen service. Confirm compatibility and the required IPTV app before purchasing a subscription.
Do I need an IPTV box in Canada?
Not necessarily. You may already have a compatible Smart TV, Android TV device, computer, or another platform that can run the required IPTV player.
Can I watch Canadian channels with IPTV?
Availability depends on the provider. Check the current channel lineup for the Canadian and regional channels you actually want before subscribing.
Do IPTV subscriptions in Canada charge in CAD?
Some may, while others may use another currency. Always verify the billing currency and total checkout amount before paying.
Should I get an IPTV trial first?
A suitable trial can help you check channel availability, device compatibility, EPG information, streaming performance, and general usability before choosing a longer subscription.
Start With the Right IPTV Setup in Canada
Learning how to get IPTV in Canada is mainly about choosing the right combination of content, provider, device, app, internet connection, and subscription terms.
Start by identifying the Canadian channels and programming you want, verify device compatibility, check the billing currency and connection limits, and test the service when an appropriate trial is available. Then install the correct player and follow the provider’s setup instructions carefully.
If you want to include another option in your comparison, review Zyra IPTV and compare its current service information with your Canadian viewing and setup requirements.